Thursday, February 27, 2014

12 (16?) -Week Challenge (Read: another chance to get really excited at the beginning and not see it through.)

I'm not just being hard on myself (though I'm told I do this far too easily) - it really is the truth!

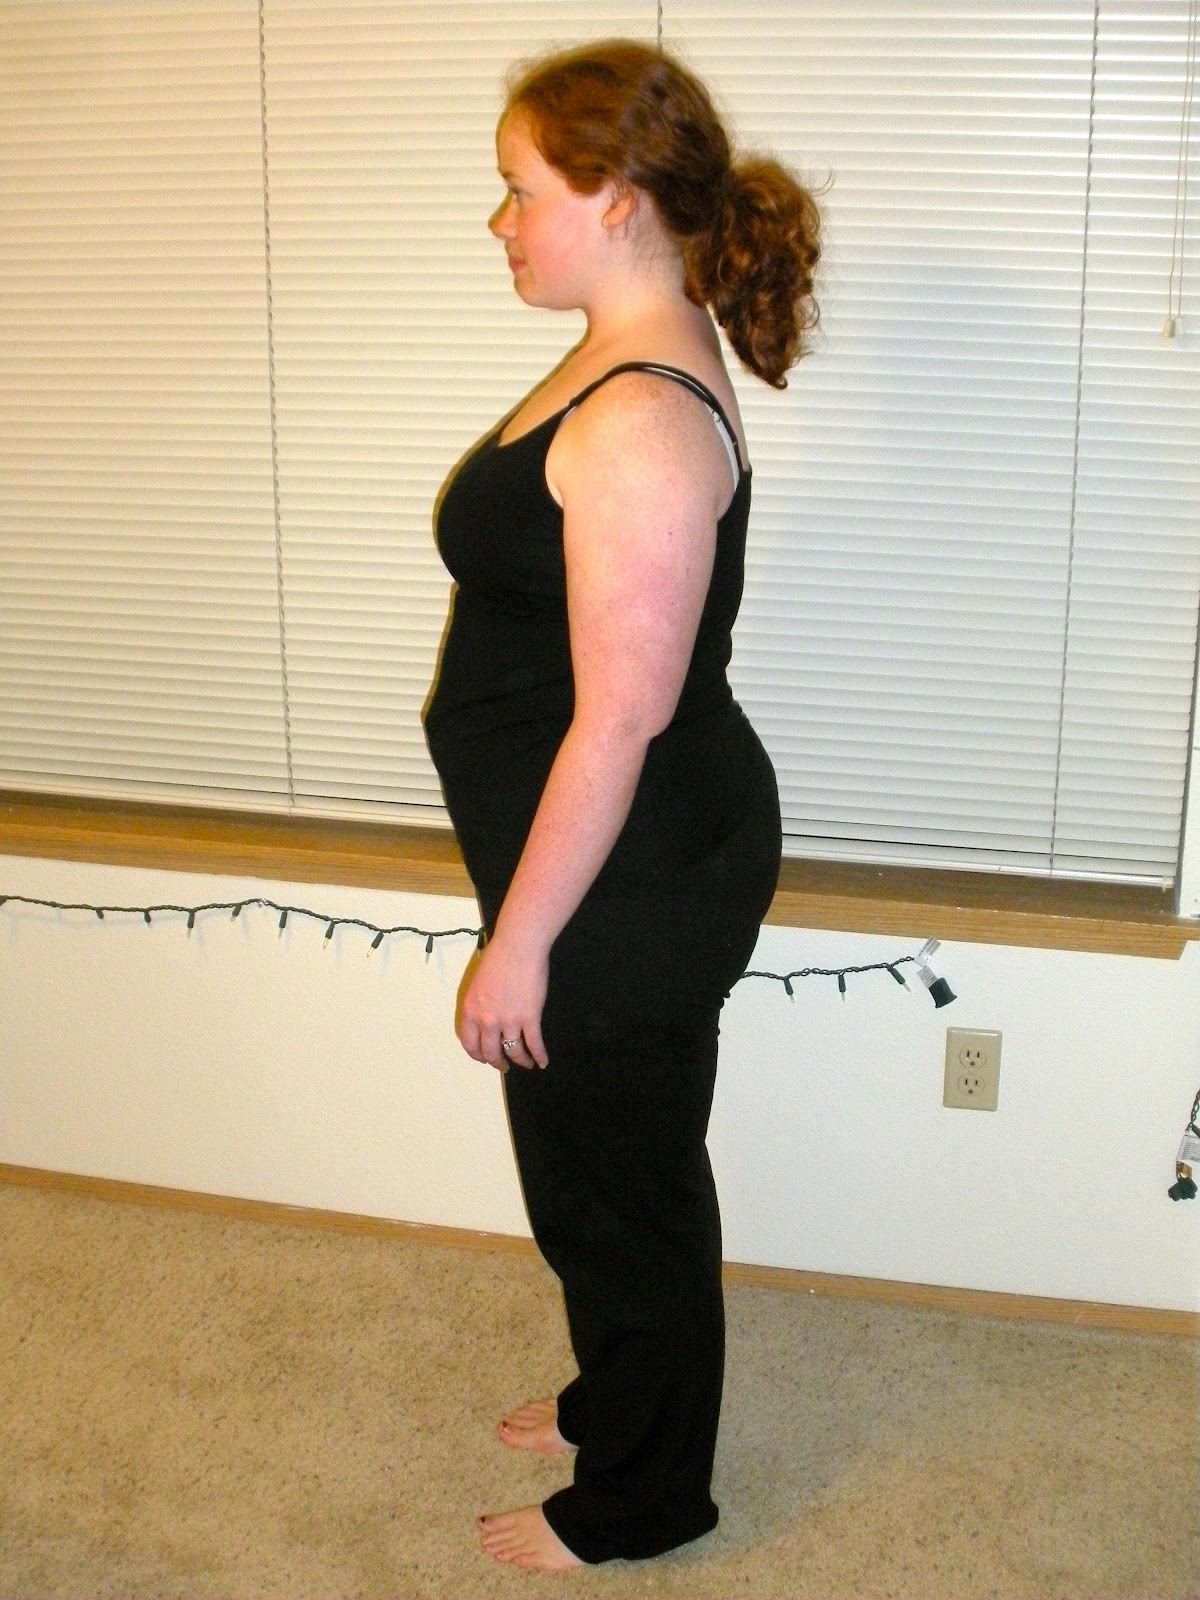
The last time I tried this, it didn't last long. It was part of a competition, and I even took "before" pics to go along with it.

*Note* These pictures show me at a lower weight than I'm at now.

Then I petered out... Yeah. So. I'm hesitant to try something like this again. The hubs would never rat me out, but it's possible that I do this kind of thing ALL the time: Get all excited about something, take FOREVER to process verbally and in writing, take EVEN longer to come up with the "perfect" plan, and then go REALLY strong... for about 3 days. 

Gotta love the cycle.

However, Kevin and I will be going on a cruise to Alaska in June with my parents, and I would really love to be down in weight by then! This would be a HUGE help.

My friend Jessica, over at http://blondeambition4fitness.blogspot.com/, is doing her own 12-Week Challenge; she inspired a mutual friend, Jackee, to start a 12-Week Challenge, and now they have urged me into joining.

It's hard to know where to start... My routine is barely working as it is... 

Well, what about this:

My 12-Week Challenge could begin March 3rd (which is a Monday, which is when my new "week" begins for my Weight Watchers weigh-in and calculations) and end May 26th...

Or... if I wanted to finish out 3 months, and not just 12 weeks, I could extend it to June 2nd...

Or... if I wanted to extend this to line up with our June vacation, I could end it June 23rd, which is the day before we leave. This would then be 16 weeks...

Hmm.

What would that 16-Week Challenge look like?

1) Tracking my Weight Watchers points everyday (no exceptions!)

2) Using part or all of my Weekly (extra) points, but no more than that

3) Avoiding the list of trigger foods that I created recently (see below), except for per-determined vacations/outings (also see below)

4) Walking on the treadmill 4 times a week for 35 minutes at a time
 

Trigger foods I'm attempting to avoid (because they make me want to eat everything in sight...):
  • Bread, pasta, rice, pizza
  • Cake, cupcakes, brownies, candy, chocolate, ice cream
  • Potatoes, tortillas, chips
  • Basically junk food
The exceptions to the trigger foods (because I can't be perfect all the time):
  • Special occasions
  • Vacations

Now, part of me wants to add a few things to this list, like: weight training, specific pounds lost, measurements, etc. But if I could stick to the 4 goals above, that, in and of itself, would be a major accomplishment for me. If I have the energy and motivation to add in weight training, that would be great! At this point, I don't want that to determine my 'success'.

When I add in something like home remodeling, which we are doing right now, that may even increase my activity some! And I have some helpful checkpoints in the future (look for these soon!) that could help motivate and track my progress. 

Ever a work in progress. I'm willing to give this a-go. 

March 3rd, 2014 will be day 1 of this 16-Week Challenge. Hopefully I will remember to update you (thank you for still reading!) with my weekly progress.

Now to avoid the evil little devil on my shoulder telling me to eat like crazy on March 2nd.........


Question: How do you keep motivated? Do you yo-yo like I do? Is it just me?

Tuesday, February 25, 2014

Am I Worth Photographing?

Celebrating a First Birthday with my friend Kristin's family!
 Over the past year especially, I haven't really liked being in pictures. I've never been camera-shy. Not even at my very heaviest; but something about gaining back a lot of weight that I worked so hard to lose makes it difficult to want that captured for all time. (Okay, that may be a bit dramatic, but you get the idea.)

Working hard on our bathroom remodel. Check out my pink tools!

Then, not too long ago, I saw a link on Facebook about an article about a child's perspective of their mother as they grew. The author talked about when she learned that "Mom was fat and ugly", or something to that extent. It was when she heard her mother say those things about herself. Before that, Mom was the most beautiful person she could imagine.


This got me thinking. Even though I don't have kids now, what kind of example do I want to be for them in the future? Do I want my kids hearing me call myself fat and ugly? I know my husband doesn't like it, and I do it more than I'd care to admit.


How do I want my littles to view themselves? Where do I want them to glean their worth? Certainly not from their physical appearance or unmet goals. 

Celebrating a bridal shower for Staci.
I got to sit by one of my good friends, Kristi!

The more I thought about this, the more I realized that I can't just change a deep-seated habit in myself overnight. And if I want to act differently when I have kids, why wouldn't I want to act differently now?

Celebrating my sis-in-law, Kim, currently carrying my soon-to-be niece!
How does it affect my husband, who thinks I'm beautiful, says it often, and then hears me refute his compliments? How does it affect my attitude about God and His creation? What does it say about my faith in who He is and who He has created me to be?

Capturing a good hair/make-up day in true selfie form.
In my heart of hearts, I believe I am beautiful - because God created me - and He doesn't make mistakes. And on really good hair and make-up days, I think I'm beautiful on the outside, too. But there are a lot of not-so-good days when I can't stand the woman in the mirror. But those days should not dictate my self-worth.


So I decided to start taking more pictures again. In 50 years, who will care about rolls and double chins anyway? No one! Besides, selfies are all the rage right now. I even did this one in the bathroom.


Question: Do you find it difficult to be in pictures? Why or why not?

Monday, February 10, 2014

Susie Homemaker (or, how I keep my budget in check)

Over the past couple weeks, I discovered a few things:

1) I have lost 8 pounds since the beginning of January!

2) Greek yogurt CAN be made at home more cheaply than store-bought

3) Making bread isn't as scary as I thought it would be

4) Snow is beautiful and really inconvenient

5) The Pioneer Woman wants to make me fat


Let's rejoice over #1 and move right on to #2 (haha, middle school humor, #2):

Want to make yogurt??? You can!!!

I (mostly) followed directions from this website, as I'm a total yogurt newbie. 

Here's what I did:

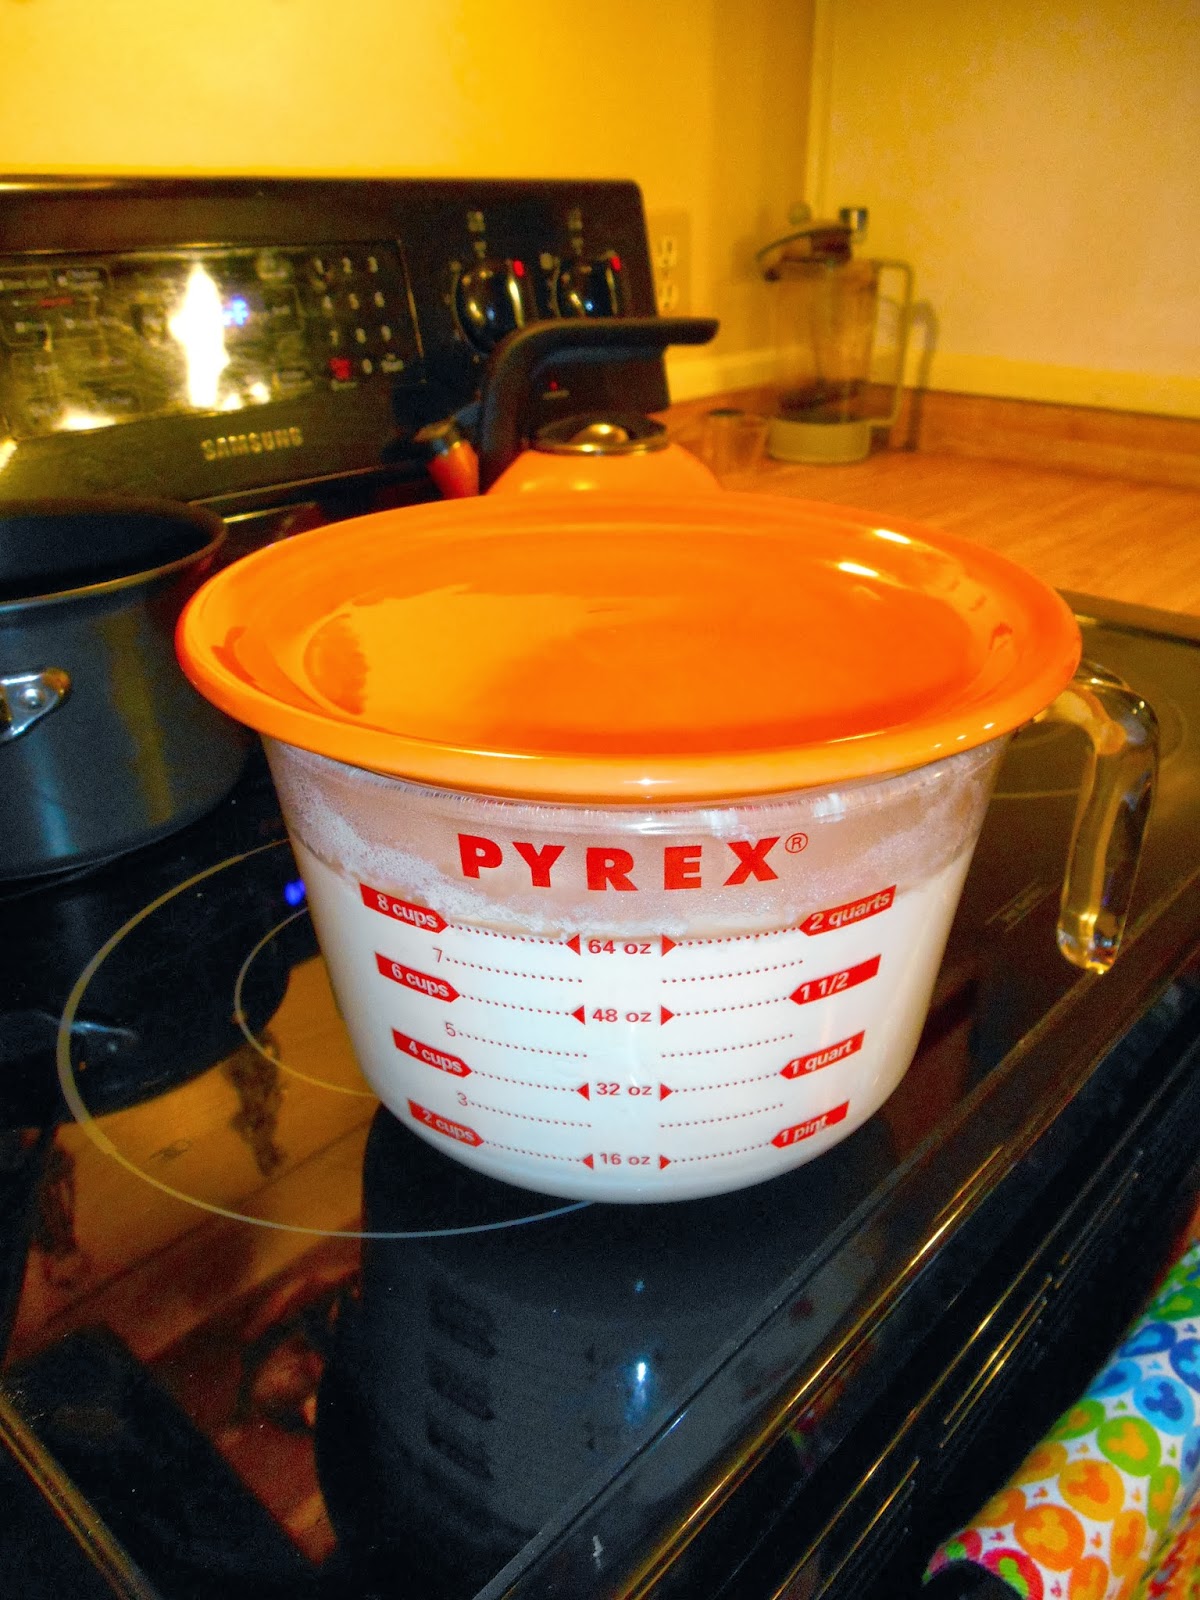
1) Pour 2 quarts (8 cups) of milk (any kind, I used whole) into a glass bowl that can take the heat. The website suggested a Pyrex batter bowl, so I borrowed my mom-in-law's.

2) Microwave for 14 - 17 minutes (may vary depending on your microwave) to get the milk to 175 - 180 degrees. I discovered that 14 minutes and 30 seconds is perfect in my microwave. Using the microwave keeps the milk from scorching and allows you to do something else, rather than stand over the stove stirring for that time.


3) Let your heated milk sit on the counter for 45 minutes to and hour, or until it cools to somewhere between 105 - 120 degrees. I used my candy thermometer to check temps, but any accurate thermometer will work.


4) For 8 cups (2 quarts), mix in at least 2 teaspoons of starter. The best starter is 5-7 days old from a recent batch of your own yogurt. Second best is a really good store-bought plain yogurt - but make sure it has live active cultures. Whisk it in and move on to incubation!

5) This may be the hard part for some: incubation. As I found out from my first and second attempts, this step is what really makes the yogurt. The milk needs to stay at about 100 degrees for 8 - 12 hours. The first time I did this, I had it in for 6 hours - and I ended up with milk soup. Not much flavor, and liquidy.  The second time, after getting some sage advice from Facebook friends, I left it in for almost 13 hours with much better results. 

My oven has a proof setting, which keeps the oven at 100 degrees. You can search the 'net for other methods. I covered my bowl with a plate, put her in, and waited! (Impatiently, mind you.)


 Huzzah! Yogurt! You can see how excited I was!!!! The milk has now become yogurt!!!


7) Now to make the yogurt Greek: Strain out the whey. Perhaps easier said than done.


As you can see above, my first of attempt involved coffee filters, among other things. The gal from Salad-In-A-Jar suggested using a bouillon strainer, but those run between $75 - $100. No thanks. I'm too cheap for that. So I made my own version!

What you see pictured is my mother-in-law's sink collander/strainer, 4 of our Classico-pasta-sauce-jar-turned-drinking-glasses, and a large baking pan.


This set-up was intended to strain whey from the milk solids, making Greek yogurt (which just describes the thickness and consistency.


This did work.... sort of... but it was messy and somewhat difficult.

After scouring the internet some more, I discovered a better method: a plain t-shirt:


Using the t-shirt (cut up one side so that I only had one layer of cloth to drain through) was much quicker and easier. Once I was done, I tossed the shirt in the wash!

Also when I was done: 


BEAUTIFUL GREEK YOGURT!!! It was a bit tangy for our taste, so I'm going to try 10-11 hours next time, but it is still oh, so tasty!


Pictured above you see that my 2 quarts of whole milk yielded 5 portions for my weekday breakfasts (3/4 cup each), a small starter for the next batch, and two 3/4 cup portions for the hubs and I to sample - not to mention at least 3 cups of whey! Pretty nifty!

And, as mentioned before, I also did some baking:


I didn't have two loaf pans, so I used a cake pan. Still worked! :)


This will cover Kevin's breakfasts for a while and our bread needs for the week!
Cheaper and tastier!


Question: What ways do you "do it yourself" to cut back on your grocery budget??